After all the supplies have been bought, the time has come to actually DO something!
1. My first step was to remove the glass from the picture frame.
2. Next, I took a 22o-grit sand paper block and gave the picture frame a good rub down. Make sure to get the top, inside, and the outside. Hell, I even did some of the back I think. It got dirtier than I thought… so don’t do this one inside.

Something like this
3. I had a box for my baby’s high chair that I just bought from Wal-Mart lying around, so I cut one side of that down so I had something to spray in. I took the box with the frame in it outside, in the open. Then I shook the can 1 minute per directions on the can and then sprayed the frame in short, even strokes. I can honestly say this was the 1st time I have EVER sprayed spray paint! It was fun!
4. Here’s what the frame looks like after 1 coat of primer:

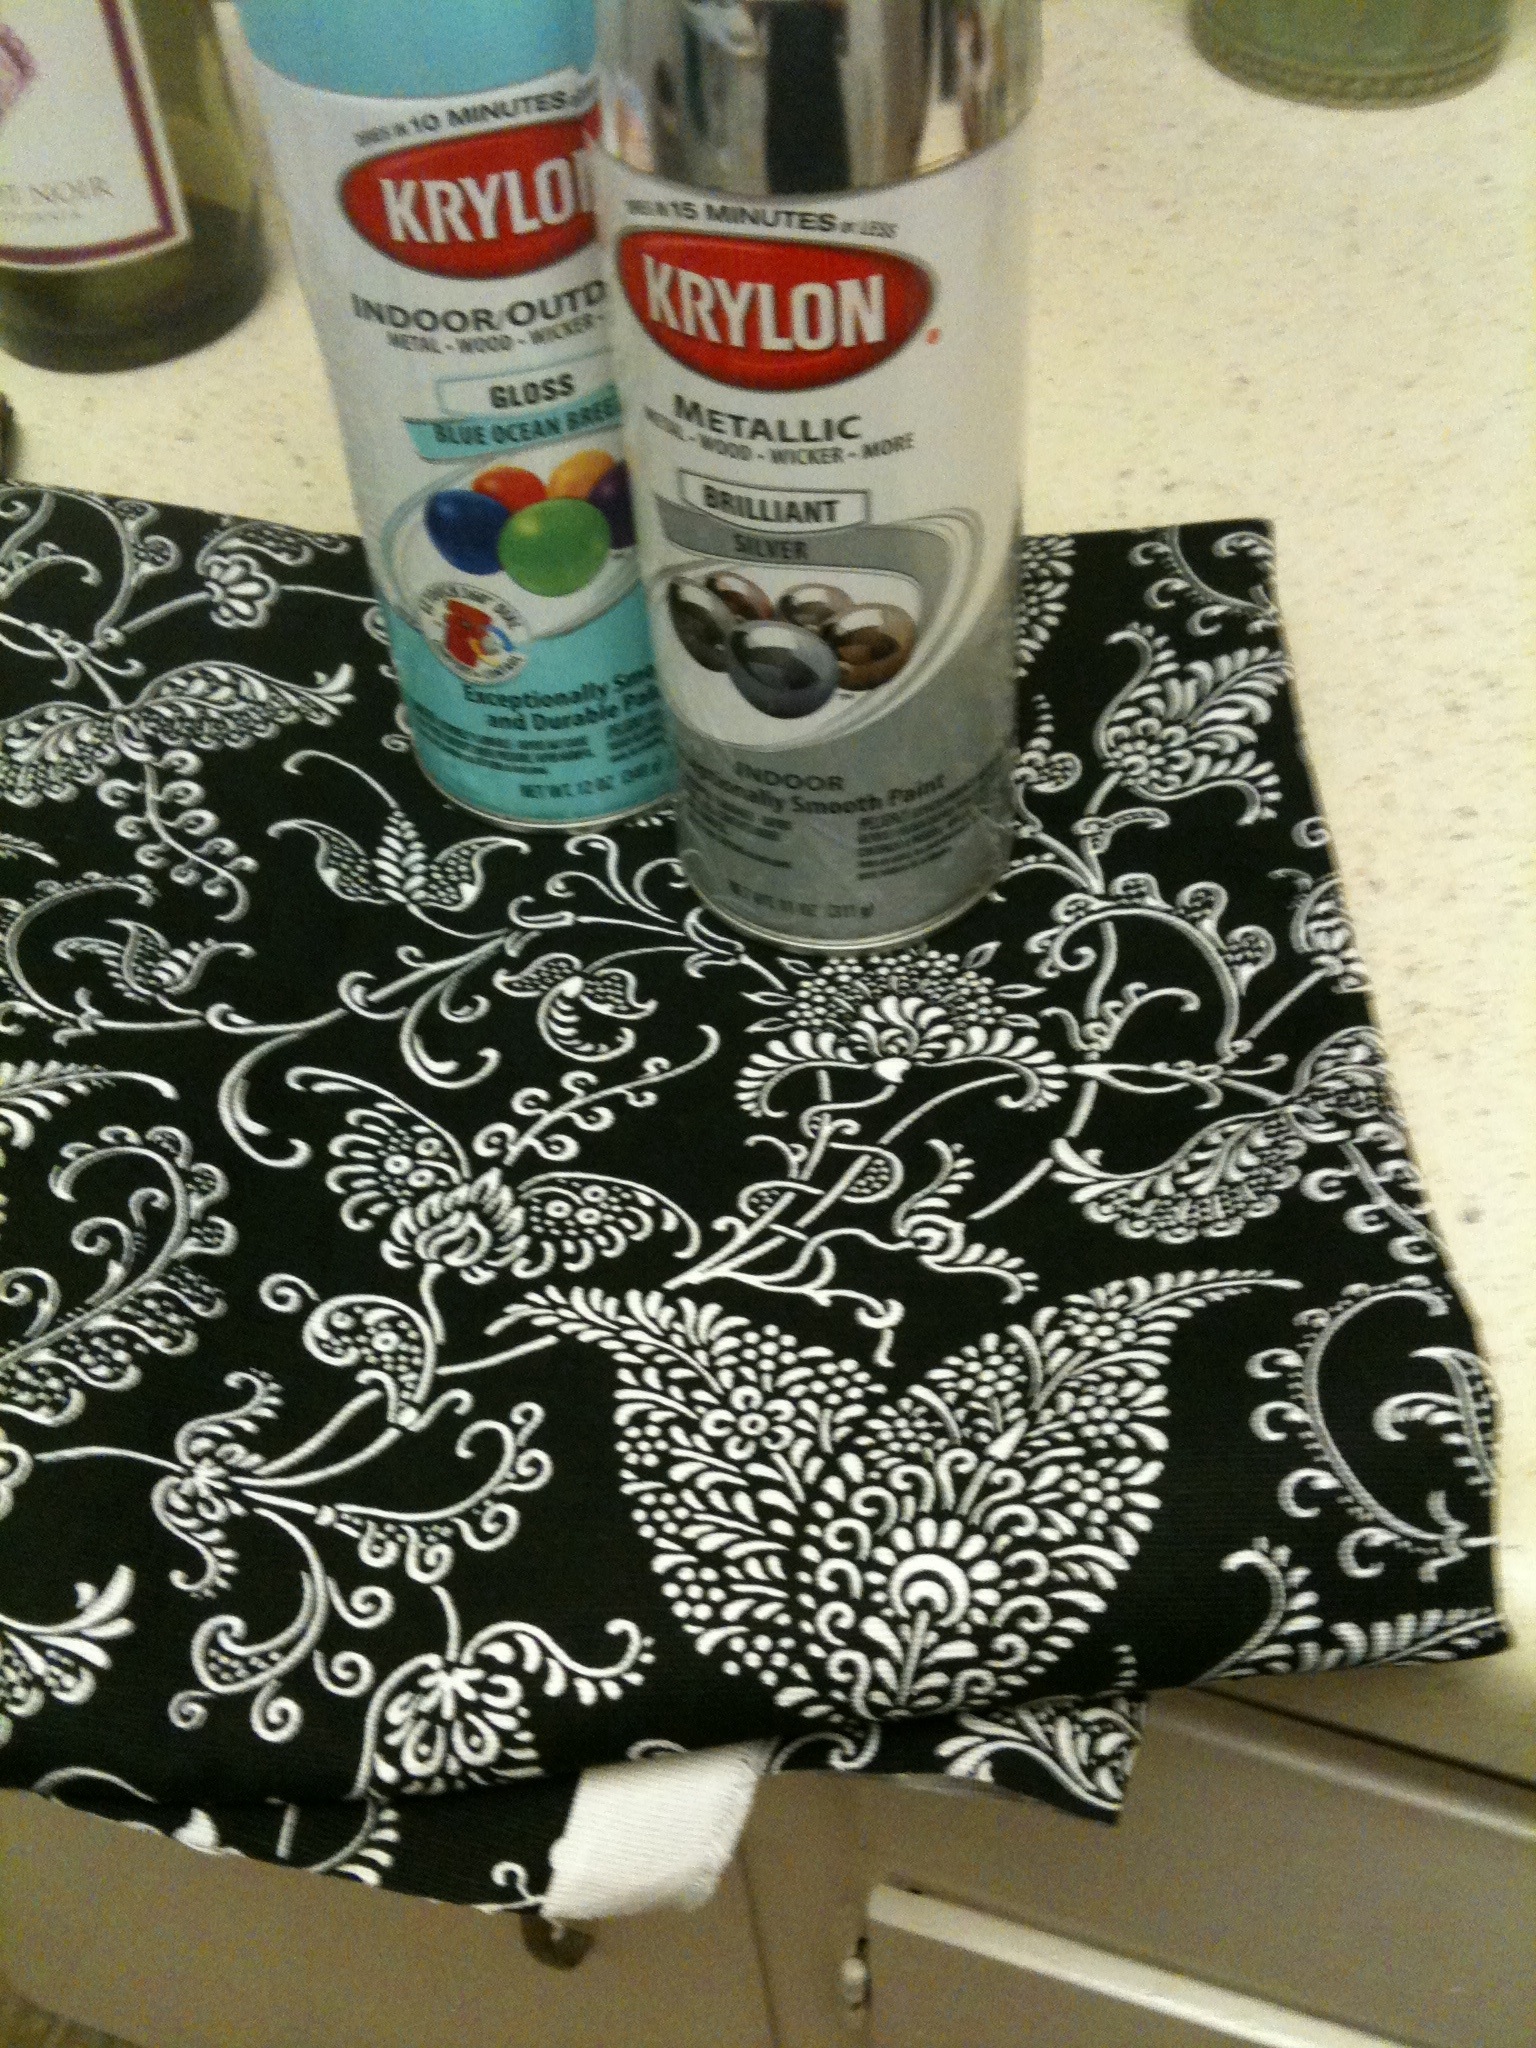
5. Next I waited and waited and waited. Then finally sprayed on a coat of Krylon‘s Blue Ocean Breeze spray paint.

6. After putting the frame aside to dry, the hardest part of all of this was cutting the sheet metal. I was a genius and decided that it could be done with scissors, (which btw got the job done, but cut the hell out of my hands. If you wanna be a pro, get some tin snips. After my first 2 boards, I bought them from home depot for less than $14.) I measured the back of the frame on the sheet metal, took a sharpie and outlined the size. Then cut, cut, cut.
7. The next step and the most important step (that I keep on forgetting and keep screwing myself!) is to make sure the metal fits in the frame BEFORE you put on the fabric. Otherwise you’ll have to rip up the fabric, re-cut, then re-glue the fabric. NOT FUN. Trust me. It’s happened to me several times.
8. After you cut the metal and make sure it fits in the frame, then cut the fabric. I put about an inch on all 4 sides over what the frame size was to fold over and glue on the back.
9. Get your handy dandy glue gun out!

Image via Wikipedia
Make sure you have some extra glue sticks laying about because I actually use 2-3 mini sticks for each board. Then lay the fabric print side down on something sturdy, like your table. Also, make sure you have something to put the glue gun on in between uses, as it tends to leak and get everywhere. I use an old cereal box that I unfolded. It works perfectly.
10. Make sure you do about 1/3 of the side at a time, as the glue dries really fast, especially if the sheet metal is cold at all. Hot glue in a straight line 1/3 of the side, and press the fabric over it, making sure to spread it into the glue. Then continue that all the way around. For the corners, you can either glue em down, or cut ’em off. I’ve done both.
11. Insert fabric-covered metal into the frame, close frame. Pour glass of wine and admire your work 🙂

Related articles
- DIY Magnetic Board (elizabethlatkins.wordpress.com)
- Make-Up Makeover Fabulous (frillyfabulous.com)
- DIY: Makeup Magnet Board (blogher.com)
- Makeup {Magnetic} Board (marisakquijano.wordpress.com)